Table of Contents
Introduction
Ready to launch your WordPress site on Ubuntu? Discover how to do it effortlessly with Caddy, the user-friendly web server that brings simplicity and security to the table. In this step-by-step guide, we’ll walk you through the setup process, from Caddy installation to WordPress configuration, ensuring your site is up and running smoothly on your Ubuntu server.
Caddy Installation In Server
Prequisites:
- We recommend that you have the following basic requirements:
- Server IP address
- Access for the server where configuration is needed.
- Instructions:
- Access the server:
To access the server, we need to addssh root@ip_addressto the command line and enter the server whereip_addressis the IP address for the server - Install Caddy in server:
Please follow the series of commands provided below to install Caddy on your server. We’ll also break down the purpose of each command to enhance your understanding.sudo apt install -y debian-keyring debian-archive-keyring apt-transport-https curl -1sLf 'https://dl.cloudsmith.io/public/caddy/stable/gpg.key' | sudo gpg --dearmor -o /usr/share/keyrings/caddy-stable-archive-keyring.gpg curl -1sLf 'https://dl.cloudsmith.io/public/caddy/stable/debian.deb.txt' | sudo tee /etc/apt/sources.list.d/caddy-stable.list sudo apt update sudo apt install caddy- Installing Required Packages:
To ensure secure package management, we install necessary components using this commandsudo apt install -y debian-keyring debian-archive-keyring apt-transport-httpsThis equips the system with tools to manage packages safely and transfer them using HTTPS.
- Adding Caddy’s Verification Key:
We fetch a special key to confirm the authenticity of Caddy packages by runningcurl -1sLf 'https://dl.cloudsmith.io/public/caddy/stable/gpg.key' | sudo gpg --dearmor -o /usr/share/keyrings/caddy-stable-archive-keyring.gpgWith this command, we download a special digital key that acts like a seal for Caddy’s packages. We transform it into a format that our system can use to confirm the legitimacy of Caddy’s software
- Configuring Caddy’s Repository:
By executing,curl -1sLf 'https://dl.cloudsmith.io/public/caddy/stable/debian.deb.txt' | sudo tee /etc/apt/sources.list.d/caddy-stable.listWe’re telling the system where to find Caddy’s collection of software packages. It’s like adding a new store to your list of trusted shopping places.
- Refreshing Package Information:
We keep our package information up to date with:sudo apt update - Installing Caddy:
This command refreshes the package information from repositories, ensuring the latest available package versions are known.sudo apt install caddy - Server Configuration:
After we have successfully installed caddy on our server. We will have a caddy directory inetcdirectory. We can navigate to the caddy directory.cd /etc/caddyIn the Caddy directory, we have a Caddyfile where we need to add our server configuration.
Since, In our case we need to add configuration for production i.e wordpress. Let’s create directory.root@ubuntu-2gb-fsn1-1:/etc/caddy# ls Caddyfile production root@ubuntu-2gb-fsn1-1:/etc/caddy#Now, let’s update Caddyfile to compile configuration of server from directory i.e production
We can open the file by following one of these commands.nano CaddyfileOr,
vim CaddyfileAs a next step, we are updating configuration in
Caddyfile.import /etc/caddy/production/*.caddyso, if we add any caddy file within production, it would update server configuration.
Let’s start with the implementation for server configuration
Now, we have successfully install the caddy on our server.🎉
Install PHP and dependencies
sudo apt install
                 php \
                 php8.1-fpm \
                 php-bcmath \
                 php-curl \
                 php-imagick \
                 php-intl \
                 php-json \
                 php-mbstring \
                 php-mysql \
                 php-xml \
                 php-zip
Above command is installing PHP stack along with some additional PHP extensions and tools. This stack is commonly used for hosting wordpress application and websites that rely on PHP for dynamic content.
After installing PHP, edit the PHP-FPM configuration file and change the default user and group with caddy:
nano /etc/php/8.1/fpm/pool.d/www.conf
Find and replace user and group name from www-data to caddy:
user = caddy
group = caddy
listen.owner = caddy
listen.group = caddy
Save and close the file then restart the PHP-FPM service to apply the changes:
systemctl restart php8.1-fpm
Caddy Configuration
- Now, Let’s move by adding a configuration caddy file for production. For instance, we will create file called
- Domain Configuration:
First, let’s define which domains our configuration applies. We’re configuring Caddy for two domains: thedevpost.com and www.thedevpost.com.thedevpost.com, www.thedevpost.com { - Defining the Root Directory:
Now, let’s set the location where Caddy will find and serve your website’s files. We specify that all files should be served from the /var/www/html/wordpress directory:root * /var/www/html/wordpress - Content Encoding and Compression:
For faster website loading times, we enable content encoding and compression. This means Caddy will make your website’s files smaller for quicker delivery to visitors:encode gzip zstd - PHP FastCGI Integration:
Wordpress is built with PHP, so we need to configure Caddy to work with PHP scripts. We use PHP FastCGI and specify the location of the PHP-FPM socket:php_fastcgi unix//run/php/php8.1-fpm.sock - Securing Your Website with TLS:
Security is crucial for any website, so we set up TLS encryption (HTTPS) for secure communication with your visitors. We use a TLS certificate associated with the email address example@gmail.com:tls example@gmail.com { protocols tls1.2 tls1.3 } - Serving Files:
Finally, we tell Caddy to serve files, making it ready to respond to incoming requests:file_server
wordpress.caddyAfter following above steps, we will get configuration as below.
thedevpost.com, www.thedevpost.com {
root * /var/www/html/wordpress
encode gzip zstd
php_fastcgi unix//run/php/php8.1-fpm.sock
    tls example@gmail.com {
		protocols tls1.2 tls1.3
    }
file_server
}
Next, we will add symlink with mounted volume.
ln -s /mnt/production/wordpress /var/www/html/wordpress
ln -s /mnt/production/wordpress /home/deploy/production/wordpress
Or,
In case, we want to directly add project in our server storage.
ln -s /home/deploy/production/wordpress /var/www/html/wordpress
Installing WordPress
Now, we need to add required project within our server. For this purpose, we will discuss two different scenario.
- Already Existing WordPress Codebase
For this purpose, we will be relying over installingrsyncpackage in our local device.For Debian-based distributions, including Ubuntu:
apt install -y rsyncFor Fedora-based distributions, such as CentOS:
sudo dnf install rsyncFor macOS:
brew install rsyncNote: we will need to maintain ssh connection between server and local device. we can achieve it by following along the tutorial.
Now, we need to add project within our server.
rsync -atv --delete --progress ./thedevpost/ root@ip_address_of_server:/home/deploy/production/wordpress - Installing a Brand New Project
To begin, we’ll download the WordPress installation files and position them within the default web server root directory, which is located at/var/www/html.cd /var/www/htmlNow download the latest WordPress install with the following command.
wget -c http://wordpress.org/latest.tar.gzwe can extract file by executing,
tar -xzvf latest.tar.gzThe user of your web server must own these files.
In our case, it will be
caddychown -R caddy:caddy /var/www/html/wordpressAbove command will allow you to change the owner of these files and set the appropriate permissions
Connect database
We will explore the process of configuring our application to connect with a database. We’ll discuss two common scenarios:
- Database server in same host
- Installing mysql-server: we have setup mysql server over current host. we can do it by executing,
apt install mysql-serverAfter the installation is complete, we will have a MySQL server running on your system, allowing you to create and manage databases, tables, and data.
- Create Database: Now, we need to create database in database server. Before that, we need to access it.
mysqlwe can create database by executing,
CREATE DATABASE thedevpostdatabase;where
thedevpostdatabaseis the database name. - CREATE Database User: To create database user, we can do it by executing,
CREATE USER 'thedevpostuser'@'localhost' IDENTIFIED BY 'devpost';It will create user with
thedevpostuserwith passworddevpost
. we will need to give required permission to the user. - Grant Permission: By executing,
GRANT SELECT, INSERT, UPDATE, DELETE ON thedevpostdatabase.* TO 'thedevpostuser'@'devpost';It will be provide required to permission for user thedevpostuser to select, insert, update and delete to
thedevpostdatabasedatabase.or,
we can grant all privileges by executing,
GRANT ALL PRIVILEGES ON thedevpostdatabase.* TO 'thedevpostuser'@'localhost';After granting privileges, we need to reload it.
FLUSH PRIVILEGES;Remember that granting privileges should be done carefully, and you should follow the principle of least privilege, giving users only the permissions they need to perform their tasks.
Now, we can exit the database server.exit - Update Database Configuration: As our next step, we will need to update datbase configuration for wordpress.
nano /var/www/html/wordpress/wp-config.phpIt will open database configuration file name
wp-config.phpIf you scroll down a bit, you could below configuration.
...
// ** MySQL settings - You can get this info from your web host ** //
/** The name of the database for WordPress */
define( 'DB_NAME', 'thedevpostdatabase' );

/** MySQL database username */
define( 'DB_USER', 'thedevpostuser' );

/** MySQL database password */
define( 'DB_PASSWORD', 'devpost' );

/** MySQL hostname */
define( 'DB_HOST', 'localhost' )

/** Database Charset to use in creating database tables. */
define( 'DB_CHARSET', 'utf8' );

/** The Database Collate type. Don't change this if in doubt. */
define( 'DB_COLLATE', '' );

define('FS_METHOD', 'direct');

define( 'WP_HOME', 'https://thedevpost.com' );
define( 'WP_SITEURL', 'https://thedevpost.com' );
...
we have updated configuration with our database name, user and other details.
we will have to adjust some secret keys to provide a level of security for our installation. WordPress provides a secure generator for these values so that you do not have to try to come up with good values on your own. These are only used internally, so it won’t hurt usability to have complex, secure values here.
To grab secure values from the WordPress secret key generator, type:
curl -s https://api.wordpress.org/secret-key/1.1/salt/You will get back unique values that resemble output similar to the block below.
define('AUTH_KEY',         '${Y 9%YoVu6~}(lmvl@~y8fZb|K+e7B:O>~fy~>qh{_?OC:mW8J)3SO:fEtr@p');
define('SECURE_AUTH_KEY',  'M.kb+w|G__Z`)h3}8ZtNQyf>!okr04(ZdO| 1cydcG0d6;x`W3)I|_#8UV&71-q+');
define('LOGGED_IN_KEY',    ';wSgU~%m|iS&Zawo%~jY]sMvs}CuV:UTtTO d=Ki|Jk*NISUH.vElL#}$x=mXHP@');
define('NONCE_KEY',        ',t#CXs7t%0$j0{)G2]?;A!g+^p: CchTd+`>%ed~Khfp/@W&mER!@c-YT.wLBE{X`_2V1CMf');
define('SECURE_AUTH_SALT', 'WZdZh5ircNctdR~ZAiXB4y*1gF+WTjd6da+GD^r2,UhAe(u|1CF5u[AJPPM)EMf4f ');
define('LOGGED_IN_SALT',   'wO}=@XYT%@f~oJLVKS=];2(BKSihNbvjd!dtCj&~/F`x-.Q39wdT|]U?tx+*y_,kE');
define('NONCE_SALT',       '}b/$n%lb8yJ]#ciE-NrLwaPlAEFV1GPCdo{BRd_pLjb3Mh0-QyE*byNa2:)iKoW++');
These are configuration lines that we can paste directly in our configuration file to set secure keys. Copy the output you received now.
Find the section that contains the example values for those settings.. . . define('AUTH_KEY', 'put your unique phrase here'); define('SECURE_AUTH_KEY', 'put your unique phrase here'); define('LOGGED_IN_KEY', 'put your unique phrase here'); define('NONCE_KEY', 'put your unique phrase here'); define('AUTH_SALT', 'put your unique phrase here'); define('SECURE_AUTH_SALT', 'put your unique phrase here'); define('LOGGED_IN_SALT', 'put your unique phrase here'); define('NONCE_SALT', 'put your unique phrase here'); . . .delete those lines and paste in the values you copied from the command line:
. . .

define('AUTH_KEY',         'VALUES COPIED FROM THE COMMAND LINE');
define('SECURE_AUTH_KEY',  'VALUES COPIED FROM THE COMMAND LINE');
define('LOGGED_IN_KEY',    'VALUES COPIED FROM THE COMMAND LINE');
define('NONCE_KEY',        'VALUES COPIED FROM THE COMMAND LINE');
define('AUTH_SALT',        'VALUES COPIED FROM THE COMMAND LINE');
define('SECURE_AUTH_SALT', 'VALUES COPIED FROM THE COMMAND LINE');
define('LOGGED_IN_SALT',   'VALUES COPIED FROM THE COMMAND LINE');
define('NONCE_SALT',       'VALUES COPIED FROM THE COMMAND LINE');

. . .
Now, save configuration file.
- Installing mysql-server: we have setup mysql server over current host. we can do it by executing,
- Database server in another host:
There are several scenarios where you might need to allow remote database access to your WordPress site.- You can configure database server in another server using above section and database is up and running over another host. If not, you can simply above follow details about how to configure database in the server excluding database configuration file for wordpress.
- Determine the Private IP Address of the Firewall: Before you can access the firewall using its private IP address, you need to know the firewall’s IP address.
By executing:hostname -Ior,
ip addr showIt will provide you private IP address. Also, we need to ensure we are on the same private network
- Set Up Firewall Rules: we will configure the firewall on our database server to allow incoming traffic on the MySQL port (usually 3306) from our private IP address.Note: we need to make sure ufw is enable and default setting has been added. You can follow along this tutorial in order to setup firewall.
Let’s assume
private_ip_address_of_another_serveris a private IP address where we have configure wordpress site and caddy.when we access host server, we can simply add rule by executing,sudo ufw allow from private_ip_address_of_another_server to any port 3306After adding above rule, it will allow host server to access 3306 (mysql server).
To verify whether rule has been added,
sudo ufw statusIt will list down configured rules.
- Update database configuration: we will need to update datbase configuration for wordpress.
nano /var/www/html/wordpress/wp-config.phpThe configuration will be similar to what we have done while configuring database in our own server expect host.
/** MySQL hostname */
define( 'DB_HOST', '@private_ip_address_of_another_server' )
we have updated configuration with our database name, user and other details.
Now, save configuration file.
We will configure firewall to allow private IP address of server where we have code to access our database server (where we installed mysql server). Although we could use public IP address but there could be risk where database server is exposed to the public internet. This can make it more vulnerable to unauthorized access attempts, including brute force attacks and scanning for open ports. Using a private IP address minimizes exposure to such threats. - Determine the Private IP Address of the Firewall: Before you can access the firewall using its private IP address, you need to know the firewall’s IP address.
Also, we need to restart caddy server.
sudo systemctl restart caddyCompleting the Installation Through the Web Interface
Now that the server configuration is complete, we can complete the installation through the web interface.
In your web browser, navigate to your server’s domain name:
https://thedevpost.com
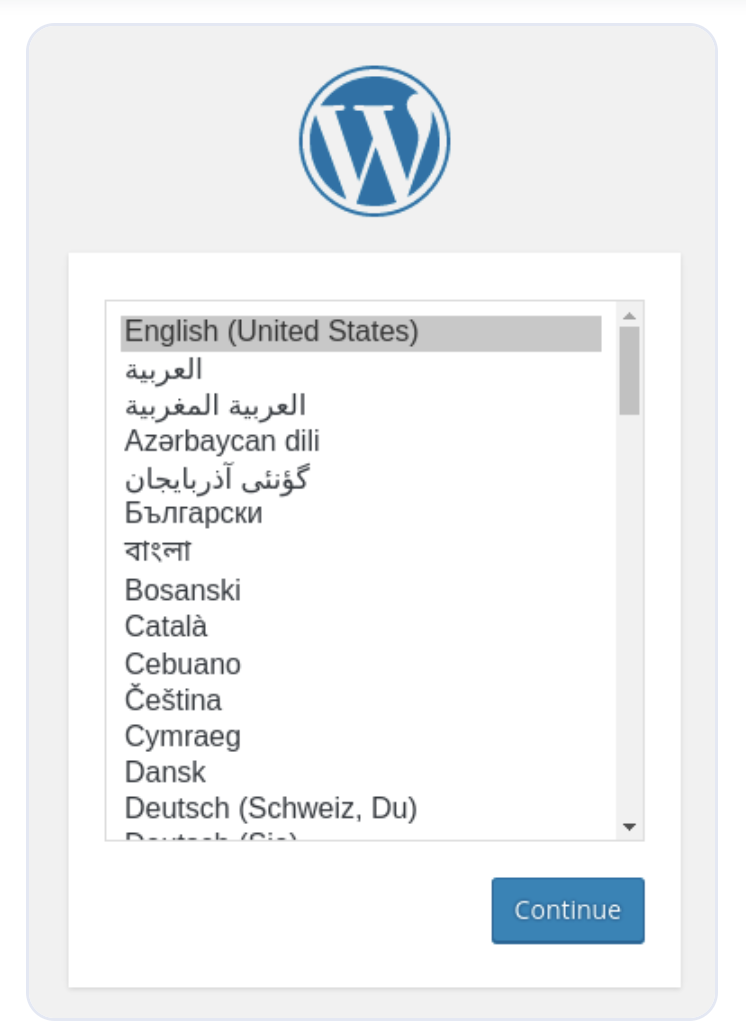
Select the language you would like to use:
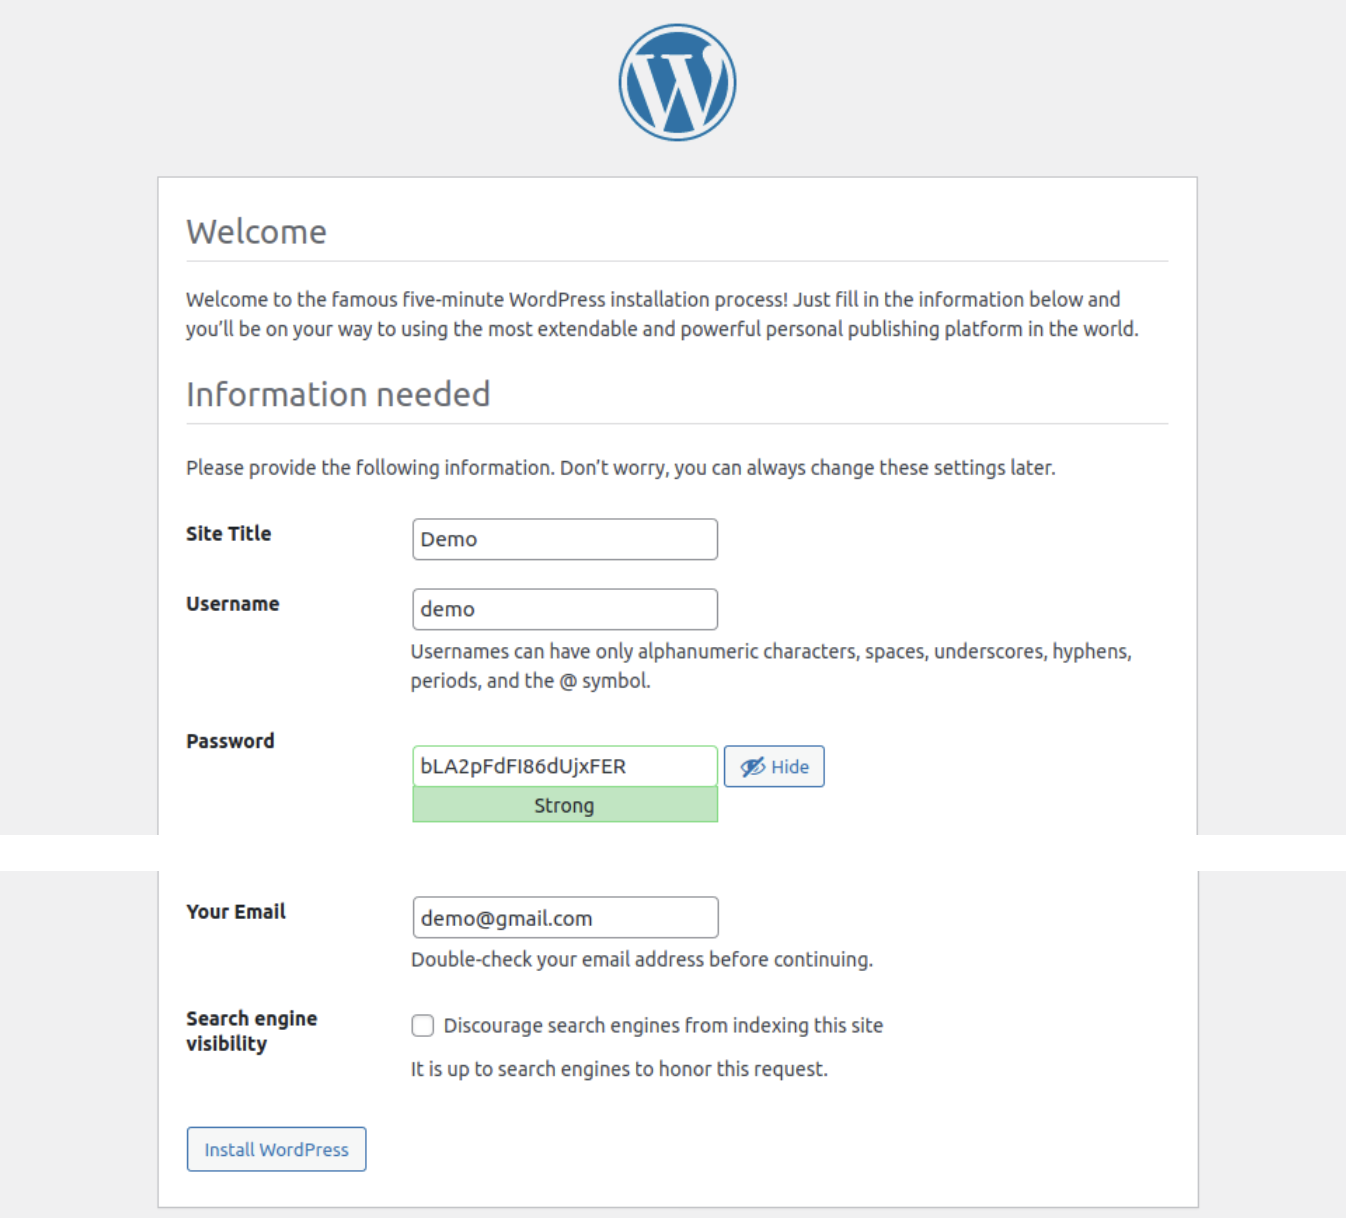
Click on “Install WordPress” to enter your preferred information, including site title, username, and password.
Site Title: Enter the WordPress website name. We recommend entering the domain name to optimize your site.
Username: Create a new username to log in to WordPress.
Password: Create a password to protect your WordPress account.
Your email: Add your email address to receive updates and notifications.
Search engine visibility: You can leave this box unchecked to prevent search engines from indexing your site until it’s ready.
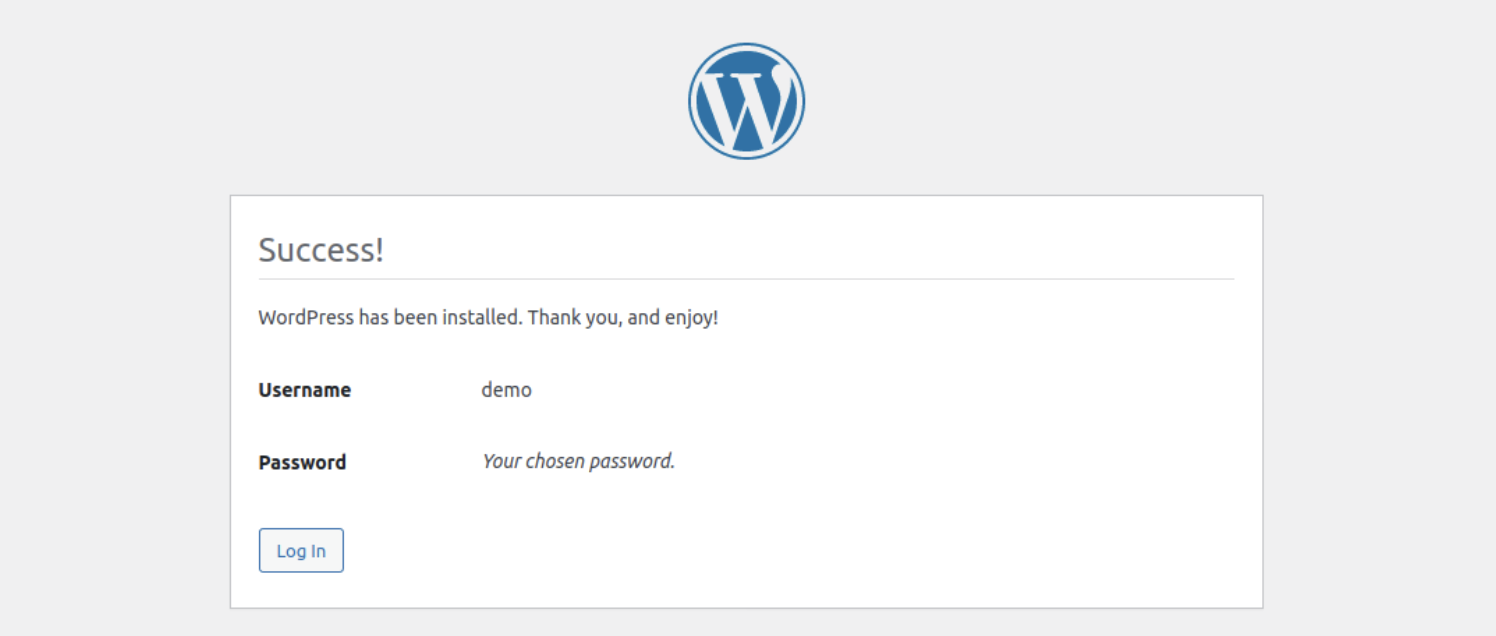
WordPress will now be installed successfully. You can log in to your admin dashboard with the previously set up information.
To log in, enter your username and password.
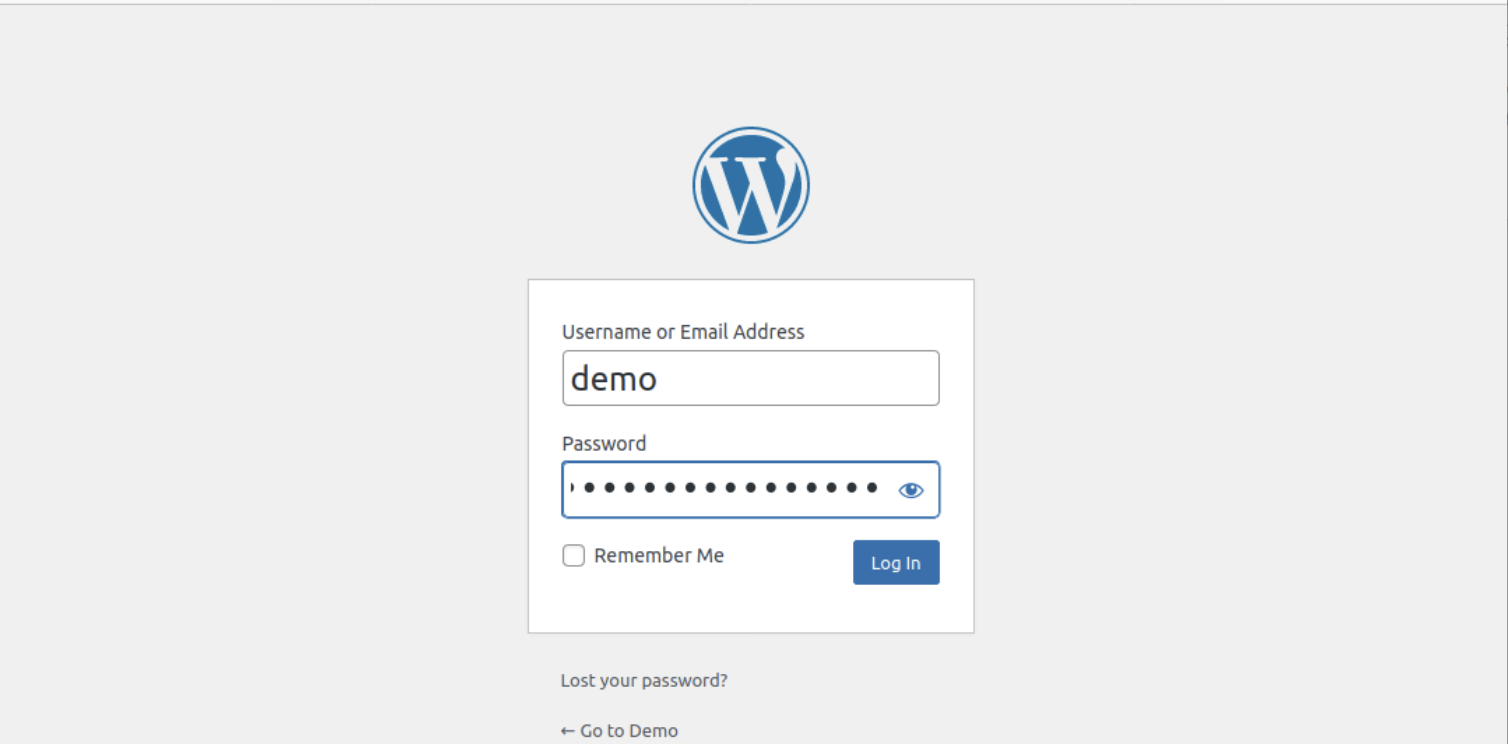
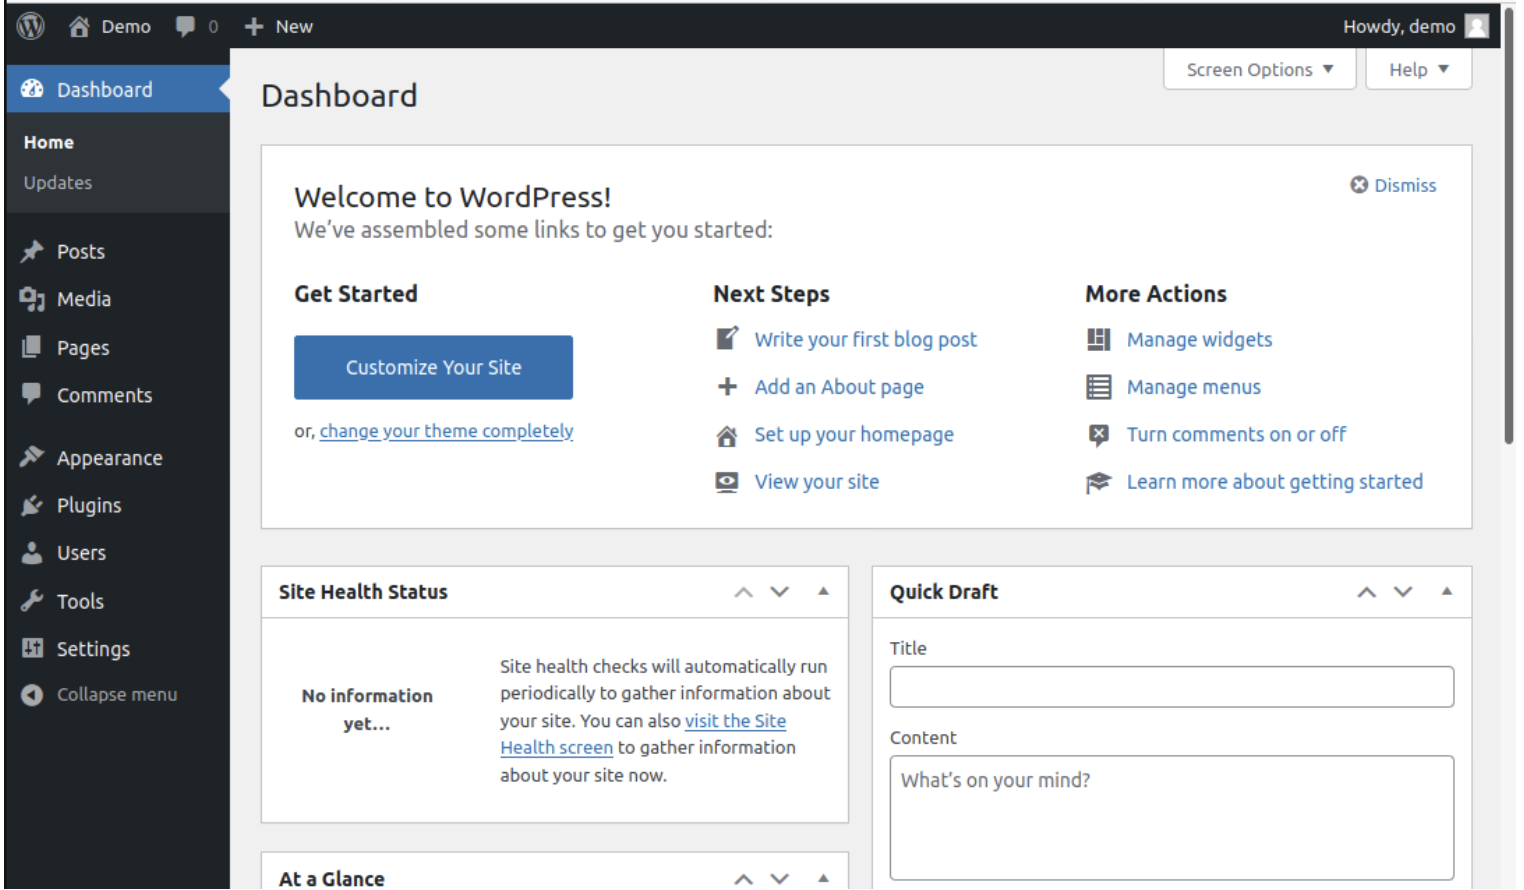
After successfully logging in, it will redirect to wordpress dashboard.
Conclusion
Congratulations, your WordPress installation is complete and ready for use!
https://thedevpost.comYou can find additional resources for alternate ways to install WordPress, learn how to install WordPress on different server distributions, automate your WordPress installations, and scale your WordPress sites by checking out WordPress Community tag from digital ocean.
Reference
- https://www.digitalocean.com/community/tutorials/how-to-install-wordpress-on-ubuntu-20-04-with-a-lamp-stack
- https://ubuntu.com/tutorials/install-and-configure-wordpress#2-install-dependencies
- https://www.digitalocean.com/community/tutorials/how-to-set-up-a-firewall-with-ufw-on-ubuntu-20-04
- https://vexxhost.com/resources/tutorials/how-to-install-wordpress-with-ubuntu-20-04-and-a-lamp-stack/
- https://www.howtoforge.com/how-to-install-the-caddy-web-server-on-ubuntu-server-22-04/